Quickstart
Goal
Run your first VibeTesting test and review the results.
This guide assumes no prior setup and should take ~10 minutes.
What we support today
VibeTesting is built for open web apps (flows that do not require login) and apps where users sign in with username or email and password that your product controls (a first-party login form).
Third-party sign-in (for example OAuth with Google, Microsoft, or GitHub) is not supported in the standard product. If you rely on that or need another specialized setup, email support@vibetesting.me to discuss a custom solution.
Prerequisites
- A VibeTesting account
- A web application URL that is reachable over the public internet
(You must own the app you test, or have explicit permission) - A DOM-based UI — the product interacts with your app through the browser DOM (typical for React, Angular, Vue, and similar). See Does my app need a DOM-based UI? in the FAQ.
- Credits to run tests — new signups receive 200 credits free; additional credits are available in billing / account settings (see Pricing & Billing)
Skill setup (local agent)
If you use the local VibeTesting skill, configure your API token before the first run. See API Token Storage on the skill page; summary below.
API Token Storage
VibeTesting API tokens should not be stored in the skill folder, repo files, config.json, or chat.
For local agent skill usage, the token is read from:
VIBETESTING_API_TOKEN~/.vibetesting/credentials.json
On Windows:
%USERPROFILE%\.vibetesting\credentials.json
Recommended setup:
python scripts/setup_vibetesting.py
(Run from the skill folder.)
Important notes:
- Do not paste API tokens into chat.
- Do not commit API tokens.
- Do not store tokens in the skill folder.
config.jsonshould contain runtime defaults only, not secrets.- If credentials are missing, the skill preflight should ask the user to run setup before the first run.
Step 1 — Log in and set your application
- Log in to the dashboard: Open the app
- Under Application, enter (or verify) your target application URL
- Open the Agent page
Step 2 — Choose a test mode
VibeTesting supports two execution modes:
Exploration (recommended for first run)
- The agent explores your app autonomously
- No predefined steps required
- Best for quickly discovering obvious issues
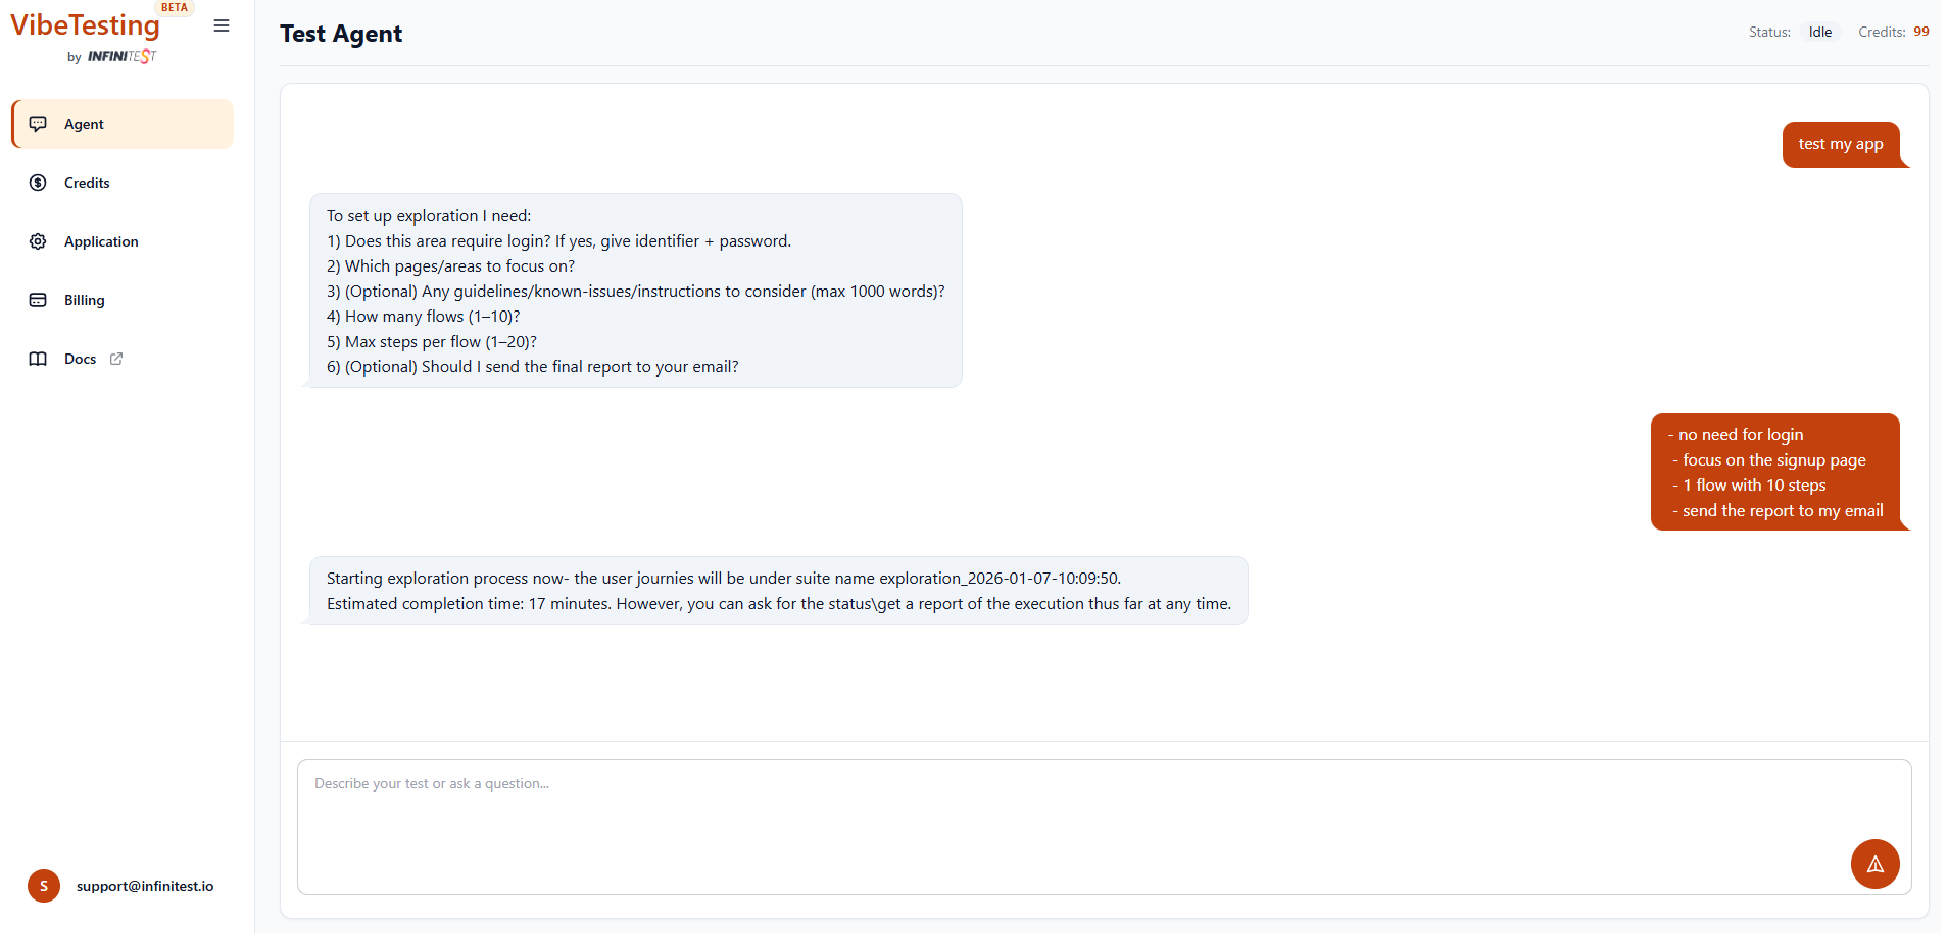
To start an exploration run, type this in the agent chat:
Test my app
Guided
- You provide Tests Guidelines for each flow (either high-level goals or explicit step-by-step)
- The agent follows your intent strictly, deciding how to accomplish the flow
- Best for known flows and regression checks, including when you want step-by-step control
Alternative: generate tests from a PRD
You can also upload a PRD or describe your app and let the platform generate test flows automatically.
Step 3 — (Optional) Share context with the agent
The agent infers reasonable defaults on its own and will summarize the planned run and ask for your permission before it starts. You don't have to answer anything up front — but the more context you provide, the better the run. Useful things to mention:
-
Optional: login
For no-login or open areas, say so. If login is needed, mention an identifier (email/username) and password for your app's own sign-in form, or reference a dashboard Test User so secrets stay out of chat.
Third-party login (OAuth, SSO, social sign-in, and similar) is not supported in the default product; see What we support today above or Which login options are supported? in the FAQ. -
Optional: which areas should be explored?
Examples: "login", "dashboard", "checkout", "settings" -
Optional: guidelines / known issues
General Instructions — constraints, focus areas, or known issues for the agent (up to about 1,000 words per message; see FAQ for limits) -
Optional: how many exploration flows?
Each flow explores independently to increase coverage -
Optional: max steps per flow
Limits the number of actions each flow can take -
Optional: email report
Choose whether to receive a full report by email (includes screenshots)
Tip: keep answers short — the agent is designed to infer reasonable defaults.
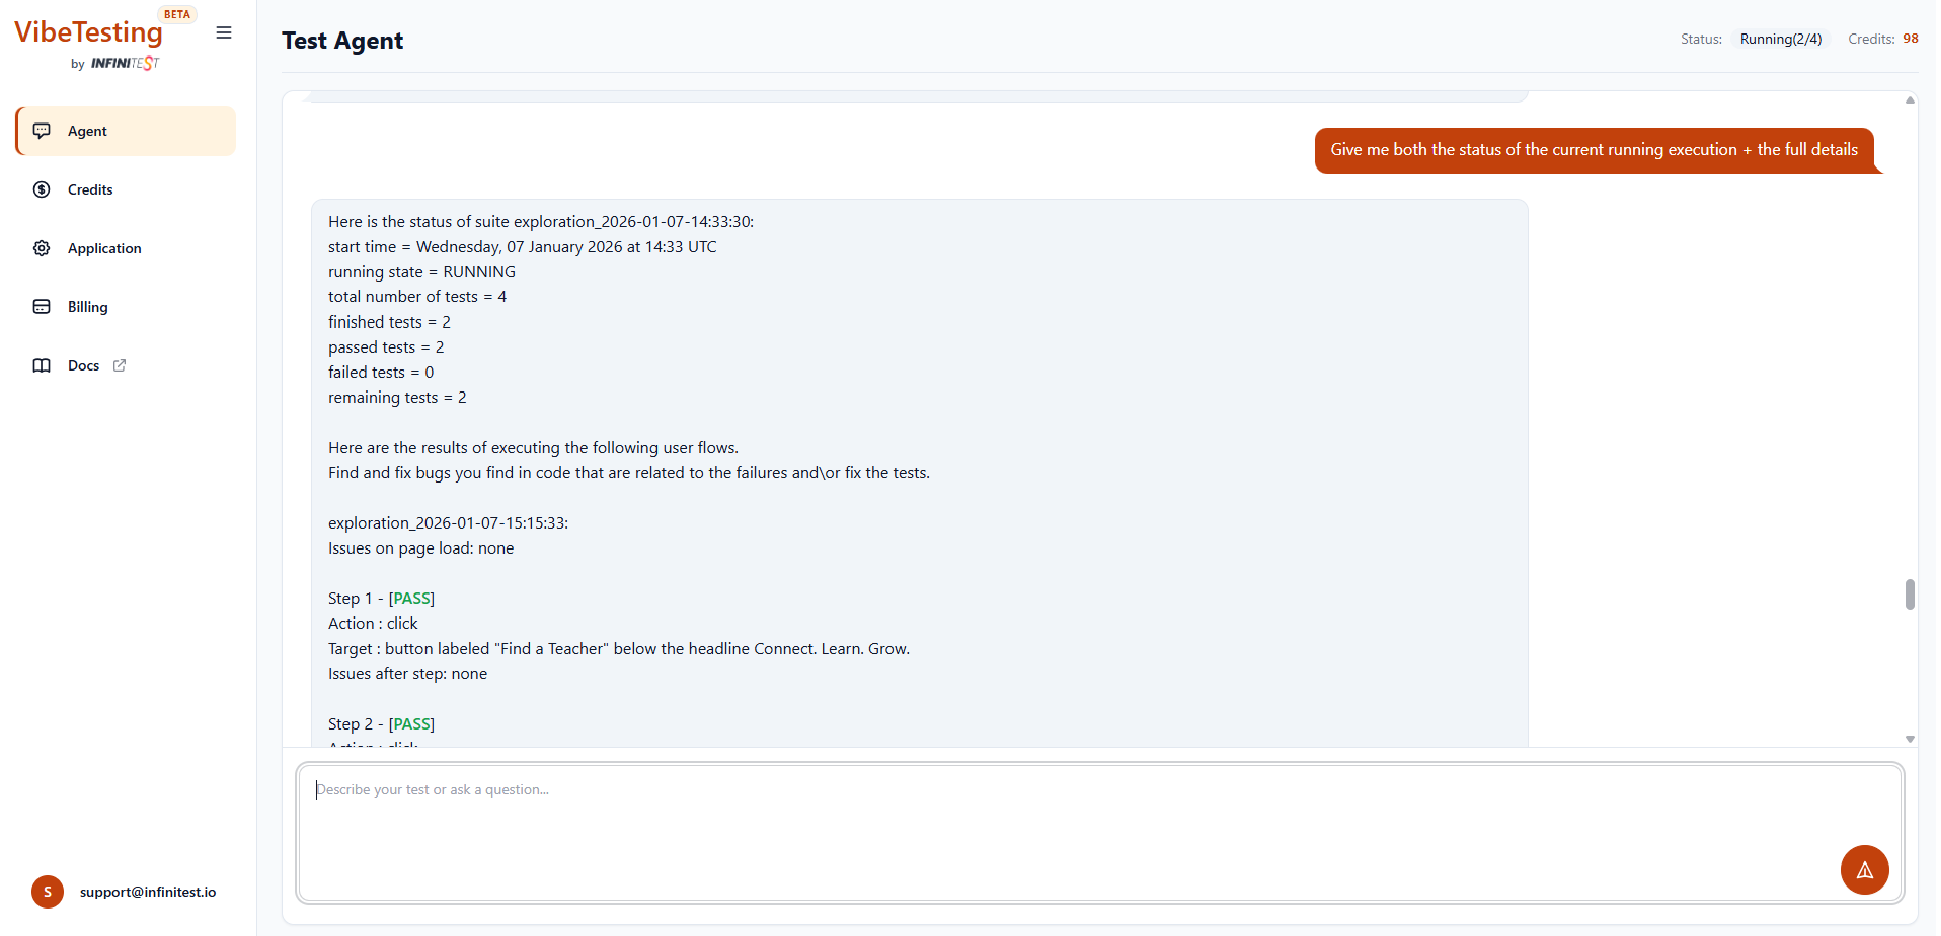
Step 4 — Monitor execution
Tests run in the cloud. While running, you can:
- Ask in chat for status updates
- Follow progress via real-time logs
You can typically track:
- Current flow and step
- Recent actions taken
- The agent's intermediate findings
Step 5 — Review results
When the run finishes, you can:
- Review results in the chat:
- Step-by-step actions
- Detected issues
- Final outcome
- View execution history in the Inventory
- (Optional) Receive a full email report containing:
- Screenshots
- Issue summaries
- Execution details