Quickstart
Goal
Run your first VibeTesting test and review the results.
This guide assumes no prior setup and should take ~10 minutes.
Prerequisites
- A VibeTesting account
- A web application URL that is reachable over the public internet
(You must own the app you test, or have explicit permission) - Available credits
Step 1 — Log in and set your application
Private beta
Access is currently invitation-only. Request an invite: support@vibetesting.me
- Log in to the dashboard: Open the app
- Under Application, enter (or verify) your target application URL
- Open the Agent page
Step 2 — Choose a test mode
VibeTesting supports two execution modes:
Exploration (recommended for first run)
- The agent explores your app autonomously
- No predefined steps required
- Best for quickly discovering obvious issues
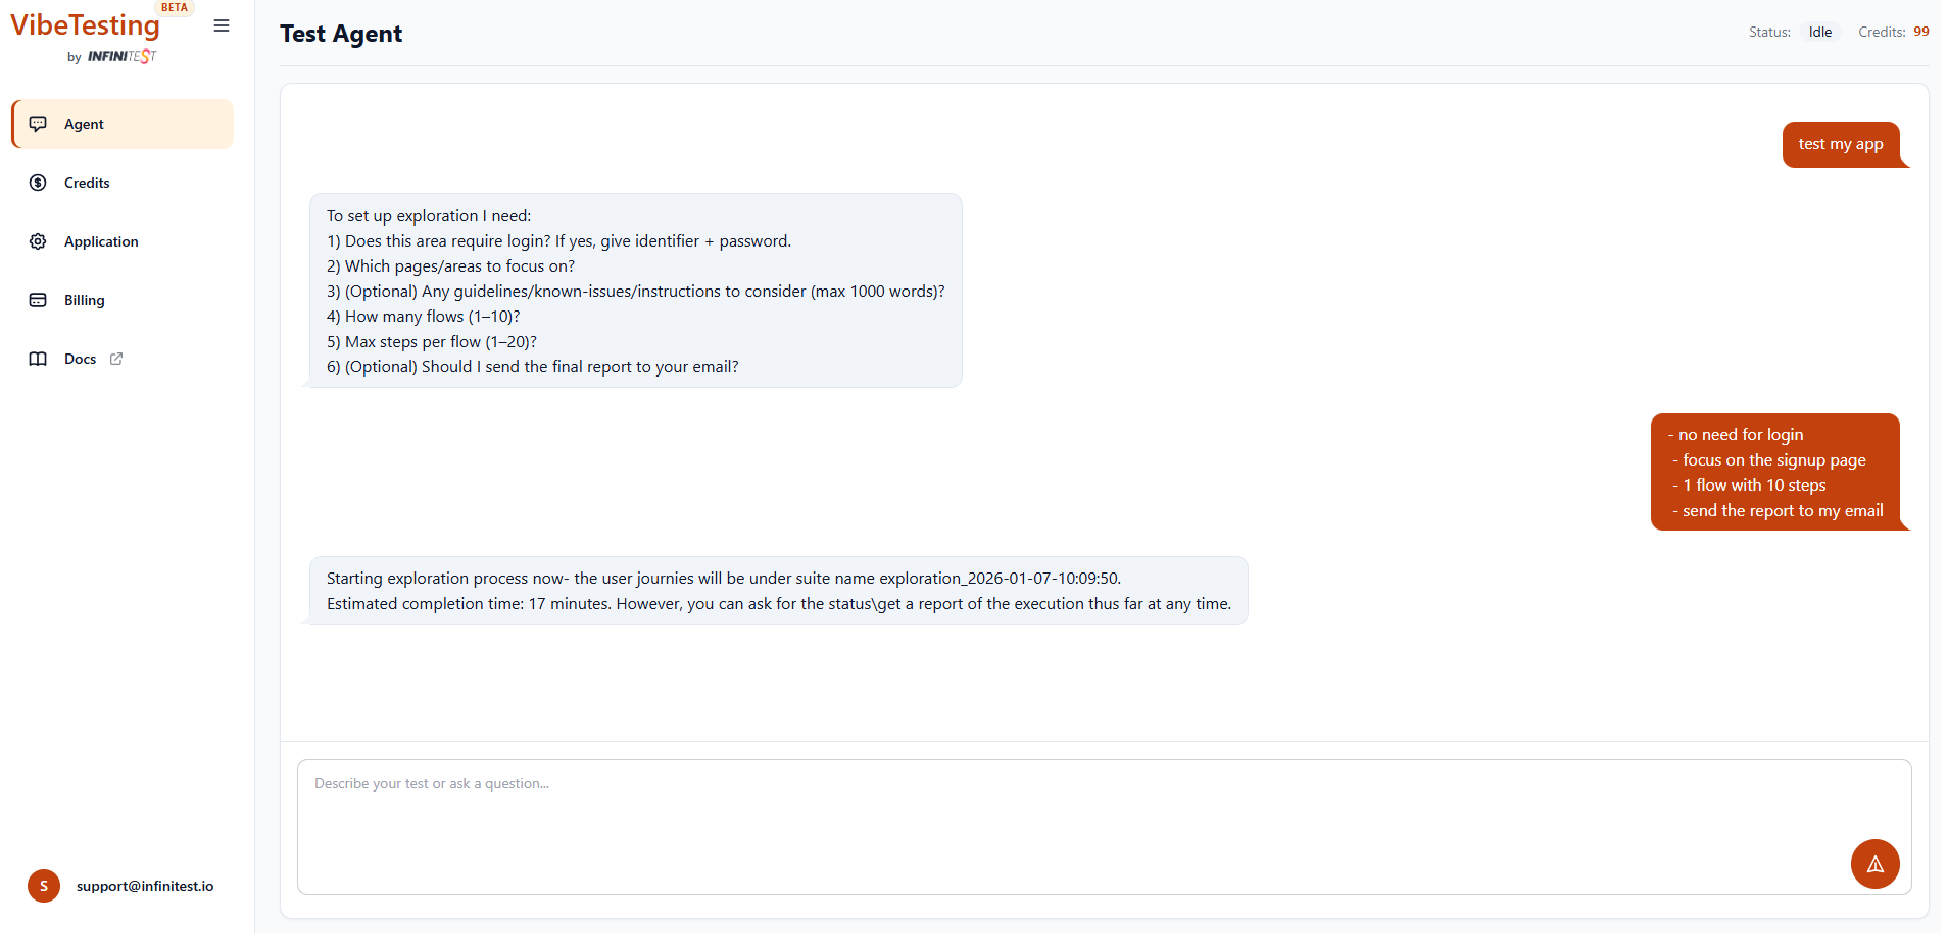
To start an exploration run, type this in the agent chat:
Test my app
Guided
- You provide Tests Guidelines for each flow (either high-level goals or explicit step-by-step)
- The agent follows your intent strictly, deciding how to accomplish the flow
- Best for known flows and regression checks, including when you want step-by-step control
Alternative: generate tests from a PRD
You can also upload a PRD or describe your app and let the platform generate test flows automatically.
Step 3 — Answer the agent's setup questions
The agent will ask a short set of questions to configure the run. Typical prompts include:
-
Does this area require login?
If yes, provide an identifier (email/username) and password.
(Only for your app's credentials-based login — not third-party providers.) -
Optional: which areas should be explored?
Examples: "login", "dashboard", "checkout", "settings" -
Optional: guidelines / known issues
General Instructions — constraints, focus areas, or known issues for the agent (up to about 1,000 words per message; see FAQ for limits) -
How many exploration flows?
Each flow explores independently to increase coverage -
Max steps per flow
Limits the number of actions each flow can take -
Optional: email report
Choose whether to receive a full report by email (includes screenshots)
Tip: keep answers short — the agent is designed to infer reasonable defaults.
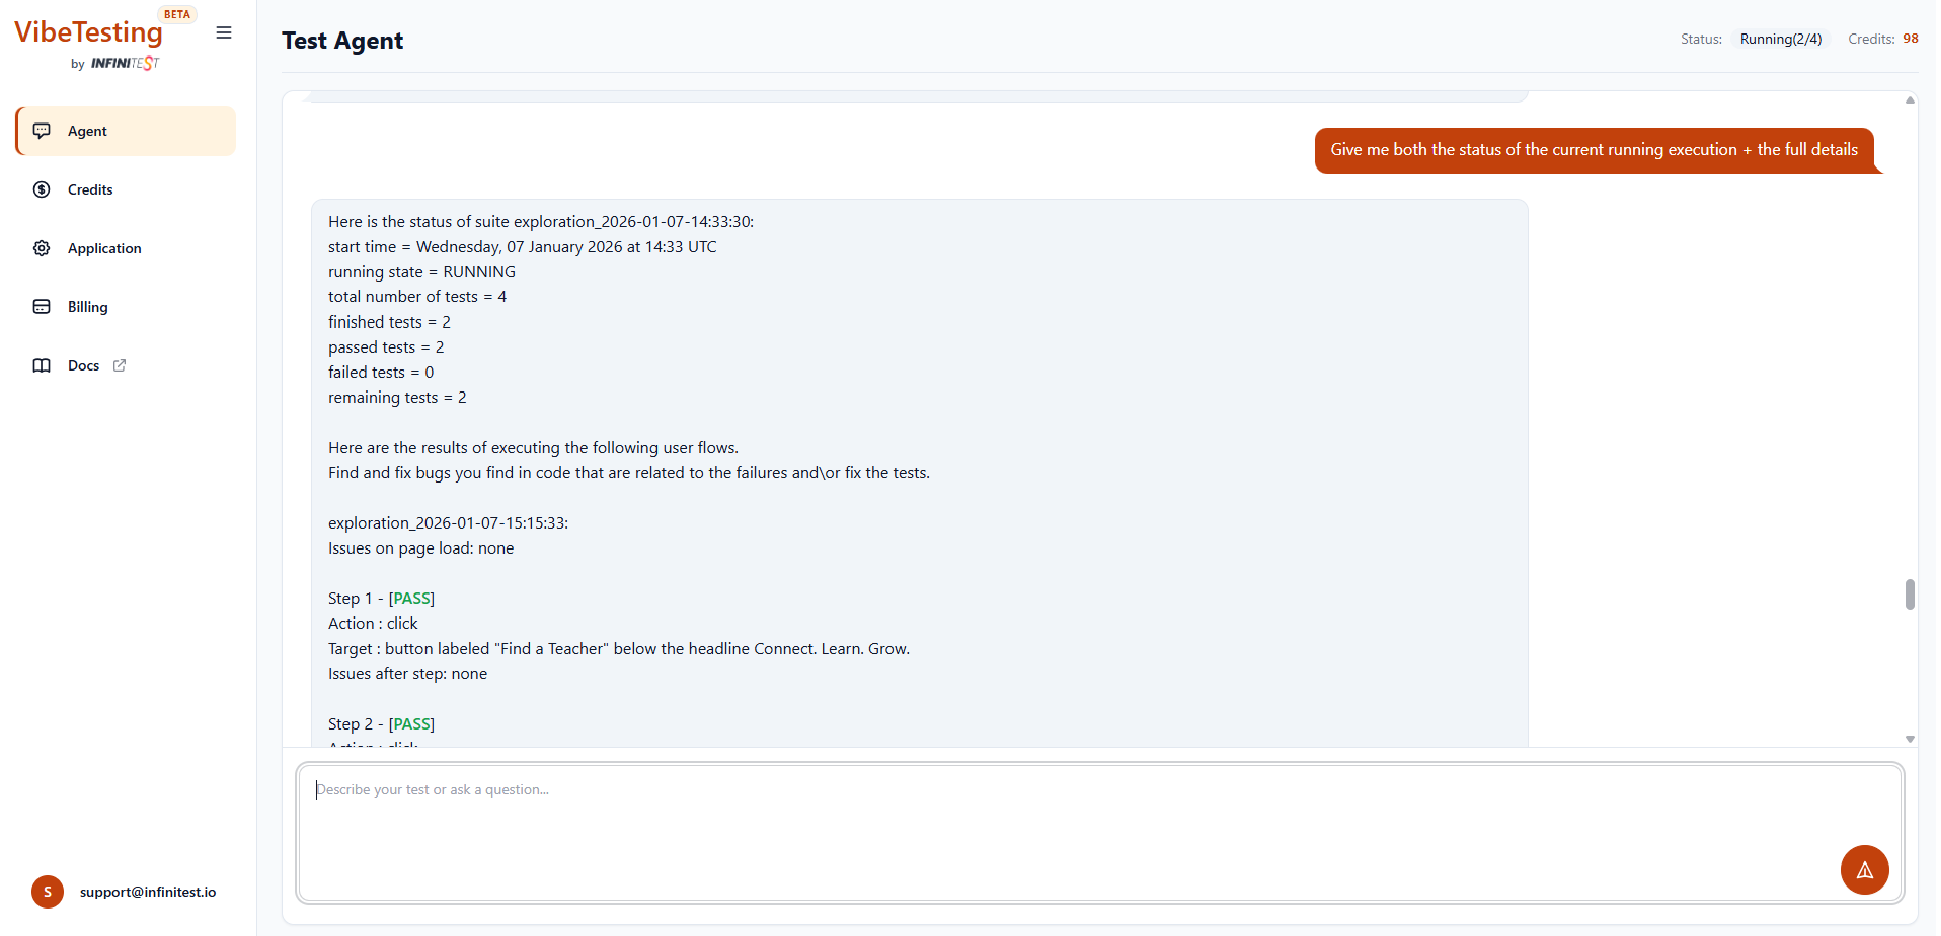
Step 4 — Monitor execution
Tests run in the cloud. While running, you can:
- Ask in chat for status updates
- Follow progress via real-time logs
You can typically track:
- Current flow and step
- Recent actions taken
- The agent's intermediate findings
Step 5 — Review results
When the run finishes, you can:
- Review results in the chat:
- Step-by-step actions
- Detected issues
- Final outcome
- View execution history in the Inventory
- (Optional) Receive a full email report containing:
- Screenshots
- Issue summaries
- Execution details